Twelve Tips of Christmas: Tip 8: 3D Printing Advice
 For those lucky enough to get a 3D printer for Christmas, here are a few hints and tips to allow you to get the most from your new equipment.
There is a very steep learning curve to owning a 3D printer, so we have created “A Quick Guide to 3D Printing”. Which gives you an introduction into FDM/FFD Printing
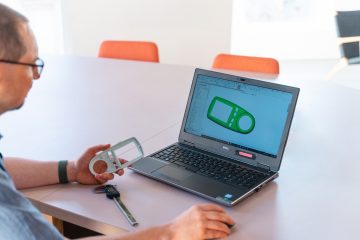
No matter what 3D printing process you are using you need to start with a file that can be “SLICED” into layers using special software. These are usually STL or OBJ files, but there are many other formats. These files are usually created from 3D CAD data, but they can also be downloaded from sites such as ThingyVerse. One thing to be aware of is that some types of 3D printing can affect geometry such as hole diameters. This can sometimes be corrected for inside the slicing software, but I personally find it easier to create a CAD model for 3D printing with additional clearances added where required.
Lets get Slicing…
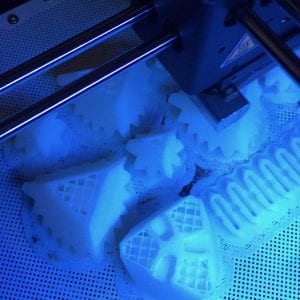
 Once we have our 3D model in the correct format we need to use some software to slice the model into the separate layers that will be built by 3D Printer. The success of any 3D print is 100% reliant on the capability of the slicing software and the user.
When placing files for printing it is important to consider the size and shape of the parts. Sometime you will need to angle parts to ensure they have sufficient strength after printing. All 3D prints are made up of layers, so some thought needs to be given to the orientation of these layers and the function of the printed part. For example: If you print a long cylinder vertically and then try to bend it, it will break due to layer delimitation. However if you print the cylinder horizontally it will be much stronger in bending, but potentially less circular. If you build the same cylinder at 45 degrees from vertical and horizontal it will have improved bending resistance and increased circularity.
As a rule, only use support material if you really need to. It is worth putting some thought into your part design and printing orientation as this can really improve the quality of your finished part.
How Long will it take to Print?
 How long is a piece of string?
Print time is dependant on a number of factors…
- Layer height
- Model density
- Material
- Printing Technology
I am only going to discuss the first two list items in this blog. The more accurate you want your 3D model to be, the longer it will take to print. Layer height has a massive impact on print time, but it is not the only factor. I have my own “Go To” settings for layer heights…
- 0.3mm for quick prints where I am not worried about the cosmetic looks
- 0.2mm for standard prints. Playing time and quality against each other for a reasonable print that looks good and could be functional
- 0.1mm of High Quality prints where accuracy is much more important than time.
The stronger you want a print, the longer it will take. Again, I have some “Go To” options for print density…
- 10% infill: For parts that need little or no strength and are being used for “look and feel” assessment of parts. This is the quickest option.
- 60% infill: For parts that need to not demonstrate look and feel but have a functional element or require some stiffness.
- 100% infill: For parts where strength is the most important factor. It also gives the most realistic weight for a given material. This is of course the slowest option.
Most of the models we print are 0.2mm layer height, 60% infill. However we also print a lot of 0.1mm 100% dense models for clients. But how does this affect the print time… A component printed at 0.2mm 60% could take 1-2 hours to print. But at 0.1mm 100% the print time for the same part could easily increase to 8-10 hours.
Finishing it off…
Occasionally we are asked to produce 3D prints that look and feel like a finished part. There are a number of ways to achieve this. Some are time consuming but relatively safe, others are quicker, but have some risks.
We don’t like to put ourselves, or others at risk, so White Horse CAD only offer “safe” finishing techniques, which take a little longer, but we think the final product looks great. Our tips for finishing are..
- Print @ 0.1mm layer height or better
- Print with 100% infill
- Remove support material carefully
- use a small file to removes rough edges and imperfections
- 120 grit wet and dry over the entire model to smooth the surface
- 800 grit wet and dry
- 1200 grit wet and dry
There are methods that use aggressive vapours to smooth some plastics (ABS) but we do not use or recommend these.
Want more Tips?
If you would like to receive hints and tips directly into your inbox, please sign up here…


You must be logged in to post a comment.